Curious about the real secret behind a flawless finish—something pros swear by but many homeowners miss?
We have provided professional craftsmanship since 2011 from South Amboy, NJ. Our team serves a 35-mile driving radius and delivers guaranteed results. We blend premium materials with clean, detail-driven work for every wall and ceiling.
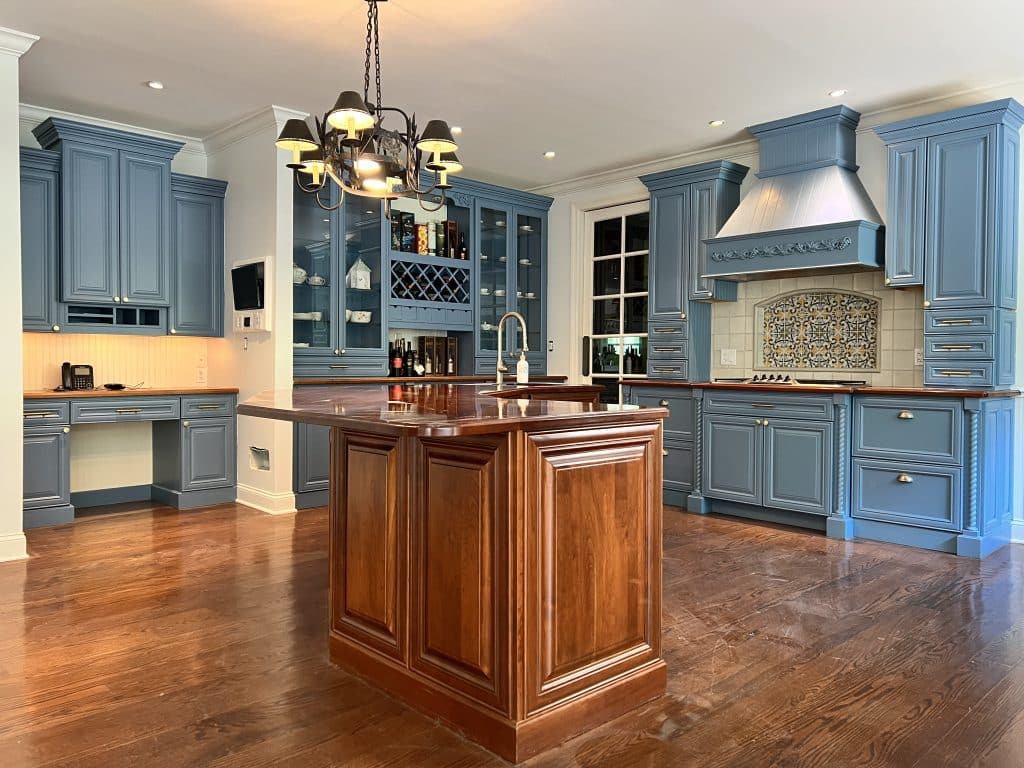
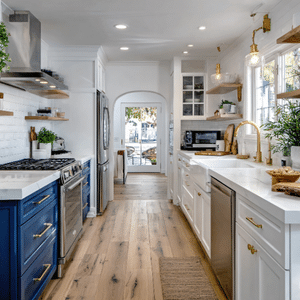
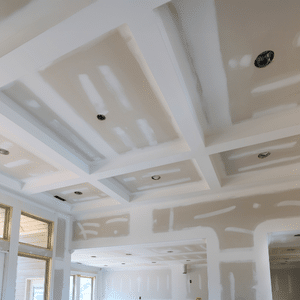
Learning How to Paint a room is part planning and part careful execution. Small choices—right primer, proper roller, steady brush strokes—change the final look.
We guide DIYers and homeowners through each step. We focus on timing, surface prep, and the right coat for lasting color and coverage. Clear communication and reliable scheduling make the project smooth.
If you want help, call (908) 963-7371 or email info@mrpaintnj.com. We protect your space and deliver a durable, clean finish you can trust.
Key Takeaways
- MR Paint has offered quality service across Central New Jersey since 2011.
- Proper prep—primer, sanding, and taping—sets up a flawless coat.
- Use the right tools: a good roller for walls; a precise brush for trim.
- Plan time and color choice before you start the project.
- We serve a 35-mile area from South Amboy and guarantee clean, reliable results.
Planning Your Painting Project
A solid timeline and accurate paint estimates set the stage for a smooth project.
Setting a Realistic Timeline
We recommend mapping tasks by day. Allow one day for prep, one for cutting in and the first coat, and another for the second coat and touch-ups.
Factor drying time between coats—this saves rushing and keeps finishes clean. For larger areas, split work into phases so living spaces stay usable.
Calculating Paint Needs
One gallon paint covers about 400 square feet of wall or ceiling surface. Measure your walls and ceilings and use that rule for quick estimates.
- Make sure you account for trim and doors—those add surface area.
- If you need more than one gallon, mix all cans in a 5-gallon bucket for consistent color.
- Plan for the number of coats required—primer plus two finish coats is common for color changes.
When in doubt, use a paint calculator or call us. We’ll help size materials and set realistic timeframes so your rooms look their best.
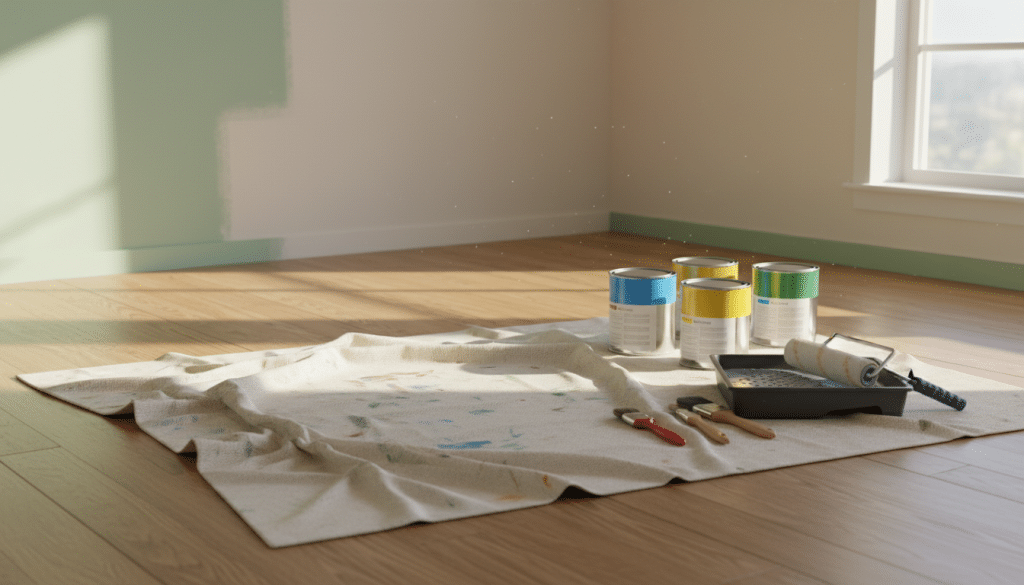
Essential Supplies for a Professional Look
A well-stocked kit separates a weekend project from a professional finish.
Start with quality paint and a reliable paint roller for even coverage. Plan on roughly 350–400 square feet per gallon paint when you total walls and ceilings.
Bring premium brushes and roller covers—cheap tools leave streaks and lint. Include primer if you’re changing colors or covering stains.
- Paint tray with liners, stir sticks, and a sturdy drop cloth for protection.
- Roller frames, extra rollers, and angled brushes for trim and corners.
- Gallon paint chosen for durability; keep extra for touch-ups and a second coat.
- Ladder or extension pole, sandpaper, putty knives, and cleaning rags.
- Painter’s tape and basic repair supplies to prepare the surface.
We recommend assembling everything before you start. Proper supplies keep the project tidy, fast, and consistent across every room.
How to Paint a room Like a Pro
A clean, methodical approach turns a weekend paint job into a professional result.
Painting is one of the best first projects for a beginning diy. It costs little and changes the look of your rooms fast.
Always start at the top and work down. That simple step prevents drips and streaks on your walls.
- Plan: map the sequence—ceilings, walls, trim—so work flows without backtracking.
- Technique: use a quality paint roller in a W or M motion for even texture and fewer lines.
- Tools: keep a damp cloth handy, a good brush for edges, and extra supplies for touch-ups.
- Test color: sample paint on the wall and watch it in different light before you commit.
Follow these practical steps and you’ll finish with a durable coat that looks like a pro did the work.
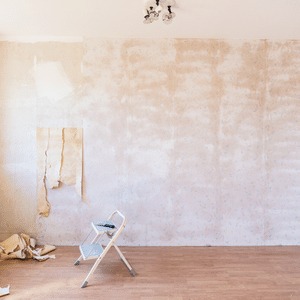
Preparing Your Space for Success
Set the stage first—small prep steps yield big, lasting results.
Clearing and Protecting Furniture
Push large pieces to the center of the room and cover them with plastic. Lay a canvas drop cloth over the plastic for a non-slip floor layer.
Remove wall decor, outlet covers, and switch plates. Store fasteners in a labeled bag for easy reinstallation.
Cleaning Wall Surfaces
Wipe walls with soapy water, then rinse with clean water and let them dry completely. Patch cracks and holes with spackle or caulk.
Sand repaired areas with 220-grit sandpaper or a sanding sponge. Vacuum dust and wipe the surface with a damp rag before primer or paint.
Ensuring Proper Ventilation
- Open windows and doors when possible.
- Run two fans in a vortex layout for steady air flow.
- Use painter tape to secure plastic sheeting at baseboards and protect trim.
These prep steps save time and reduce mistakes. We follow this process on every project to protect your space and give your walls a durable, professional coat.
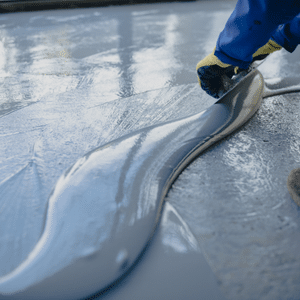
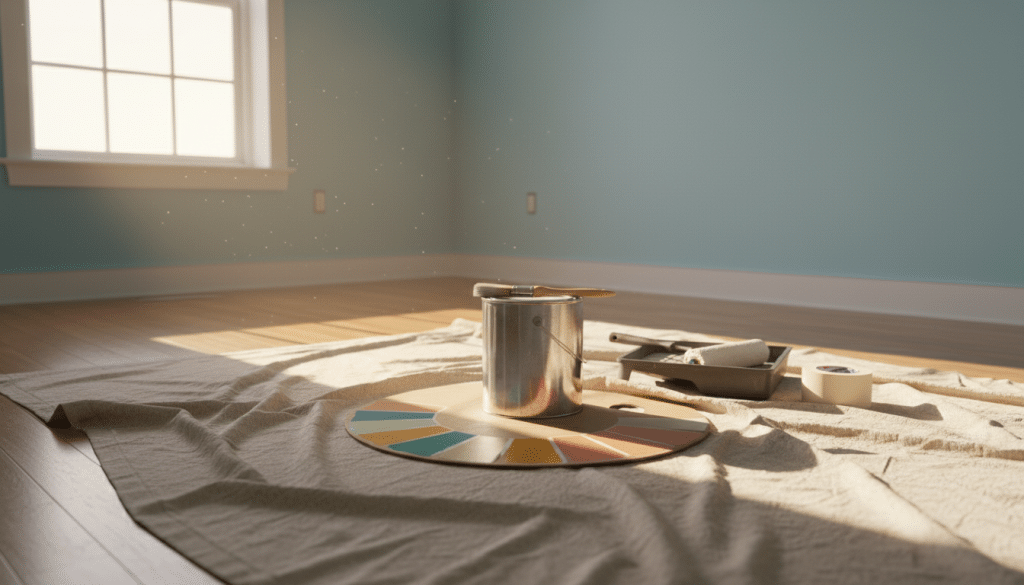
Selecting the Right Primer and Paint
The right primer and color selection determine how your walls look and hold up.
Primer helps new finishes stick, covers stains, and gives an even base for the top coat. Unfinished drywall needs a high-hiding primer. Glossy wood calls for a bonding primer.
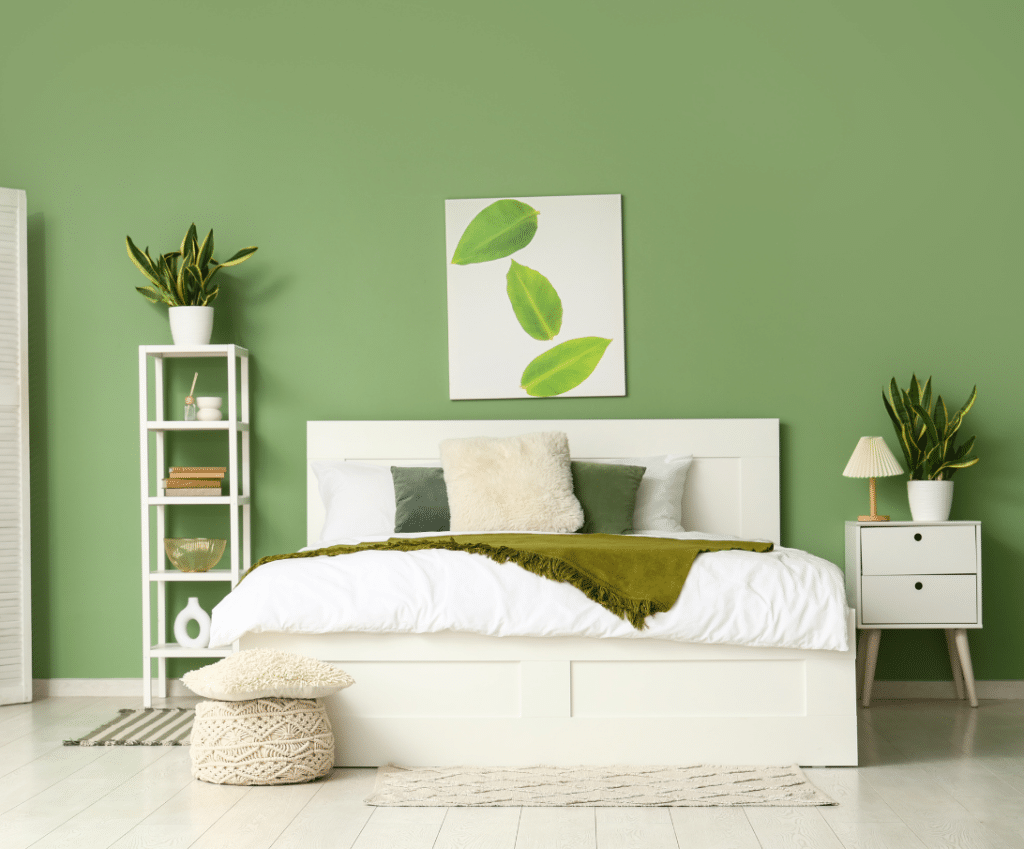
Choose a finish that meets daily needs. For high-traffic zones pick an easy-clean finish that wipes without losing color. Bright shades reflect light and make the room feel larger; neutral tones stay timeless.
- Prime before you add color—this ensures even adhesion and consistent coverage.
- Match primer to the surface: drywall differs from wood and metal.
- Sample colors at different times of day to see true tones on your wall.
- Let primer dry fully before you apply the first coat for best durability.
We recommend testing small areas and using a quality roller and a good brush for edges. This step saves time and prevents rework. With the right primer and paint, your walls will look professional and last for years.
Mastering the Art of Cutting In
Edges set the tone. When you cut in well, the whole project reads as careful and finished. This step defines ceilings, trim, and corners before larger areas get the roller.
Techniques for Clean Edges
Use an angled brush to lay a 2–3 inch strip of primer or paint along the edge. Dip the brush about one-third into the can and avoid scraping the rim.
Hold the brush like a pencil. Use short, smooth strokes and feather the outer edge. This prevents runs and blends into the next pass with the roller.
- Ceiling first: cut in the ceiling line, then use the roller for the surface.
- One wall at a time: cut in, then roll to keep a wet edge for even coverage.
- Small bucket: makes ladder work lighter; two people speed the process—one cuts in, one rolls.
- Trim touch-ups: a little paint on trim is fine—you will repaint trim later for a crisp coat.
Patience during this step saves time later. Practice these techniques and your walls will show clean, professional lines every time.
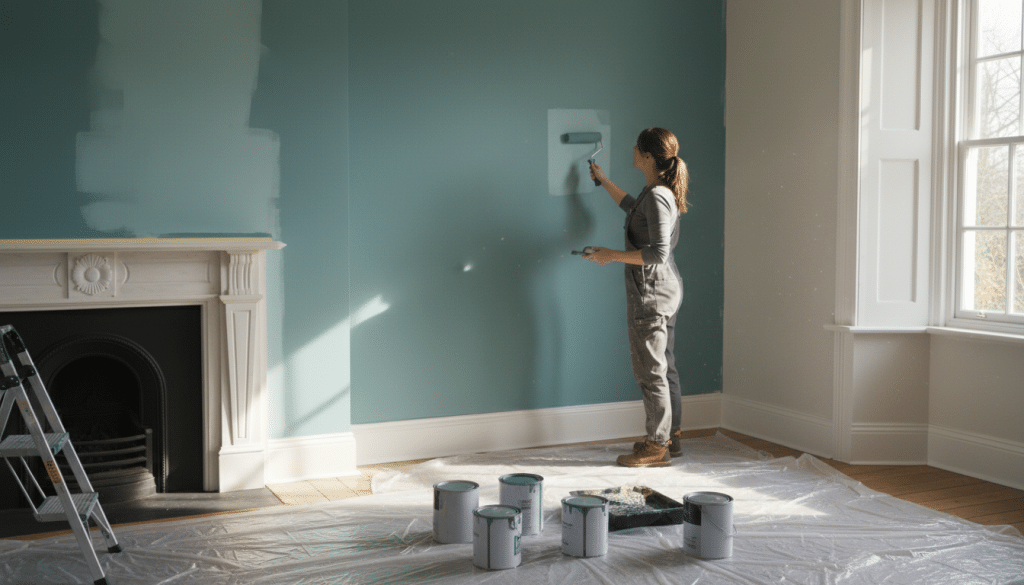
Applying Paint to Walls and Ceilings
With primer dry, the real transformation begins on your walls and ceiling.
Load the roller by damping the cover with a wet rag, then dip it lightly and roll on the grid. Do not submerge the roller—this keeps drips off the floor and drop cloth.
Start a few inches from the edge. Roll in a zigzag, W, or M pattern to spread the color. Work in 4-foot sections so coverage stays even and wet edges blend smoothly.
- Cut in first with a 2-inch brush around ceilings, corners, and trim.
- Use a tray or a 5-gallon bucket with a grid for consistent loading.
- Turn the roller sideways to reach tight gaps near the ceiling and baseboards.
Lightly roll from ceiling down to the floor with minimal pressure to remove buildup. Keep a damp cloth handy for spills on the drop cloth; wipe before paint dries.
One steady pass at a time—this step sets the tone for your first coat and the rest of the project. We follow this method for clean, durable results every time.
Tips for a Flawless Second Coat
The second pass of paint is where color depth and uniformity come alive. This step turns an even first coat into a durable, finished surface. Small habits now prevent big fixes later.
The Importance of Drying Time
Make sure the first coat has time to paint dry. Temperature and humidity change how long that takes. Most finishes need at least two hours, but check the can for exact guidance.
- Wait: let the first coat fully dry before you roll the second coat. Rushing causes streaks and peeling.
- Match motion: use the same W or M roller pattern so texture stays consistent across walls and ceiling.
- Remove tape: peel painter tape right after the final coat while paint is tacky to avoid lifting.
- Clean spills: keep a damp cloth ready for drips and wipe them before they cure.
Two coats usually give the best hide and true color. Give extra time between coats if the room is cool or humid. We take this step seriously—so your wall looks premium and lasts.
Professional Cleanup and Finishing Touches
A tidy finish starts with careful cleanup—this final step protects your surfaces and your investment.
Remove painter tape while paint is still slightly tacky. This prevents peeling and keeps edges crisp. Make sure you peel slowly and at an angle.
Wash brushes and rollers with warm, soapy water for latex paints. Run the brush under warm water and use a comb or nylon brush to clear bristles.
If you used oil-based products, clean tools with mineral spirits and follow safety instructions. Reshape brushes and hang them upright to dry.
- Roll up drop cloths after floors dry and air the room well.
- Seal leftover paint tightly for touch-ups—never pour it down a drain.
- Dispose of dry paint residue in regular trash; treat oil-based cans as hazardous waste.
We handle cleanup on larger projects. Call (908) 963-7371 for help. We protect your space and make sure the final coat and surface look flawless.
Conclusion
Final touches and patience turn good results into lasting finishes. Follow a careful sequence from the first drop cloth to the last coat. Let the surface fully cure so the paint dry step locks in color and durability.
Choose the right paint and quality tools. Prep well, apply even coats, and give each coat time. This simple practice lifts the look of any painting room project and saves rework.
We stand ready to help with larger jobs or if you prefer pro support. Call MR Paint for clean work, premium materials, and results you can trust.