Curious why some rooms look showroom-ready while others show brush marks and drips?
We’ve worked with homes and businesses across Central New Jersey since 2011. Our approach is simple—meticulous prep, premium materials, and clean work. That is the reliable way we deliver a clean, professional finish every time.
MR Paint trains homeowners and teams so anyone can learn paint techniques that produce lasting results. We focus on interior painting projects that transform space and boost pride in your home.
Tackle preparation, choose the right products, and follow proven steps. Spend the right time on prep and the final coat will reward you with a durable, even finish.
Key Takeaways
- Preparation is the foundation of a lasting finish.
- Simple, consistent methods give professional results.
- We bring experience and clean practices—since 2011.
- Quality materials cut repeat work and save time.
- Our goal: a room you can be proud of every day.
Understanding the Importance of Proper Wall Preparation
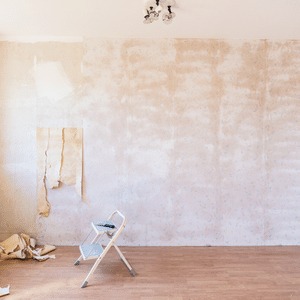
Proper prep separates a professional finish from a weekend redo. Preparation is the essential first step when we repaint a room. It saves time and prevents problems later.
Begin with cleaning. Most interior walls need only a sponge and warm water to remove dust and grime. This cleaning clears the surface so new paint bonds evenly.
Cleaning the Surface
Wipe down high-traffic areas and corners. Let walls dry fully before any further steps. Small repairs come next—fill holes, sand rough spots, and remove flaking material.
Priming for Success
Use a high-quality primer. Primer seals stains and evens absorbency so the topcoat adheres. This is vital when switching from dark tones or glossy finishes.
- Cleaning the surface ensures smooth adhesion for interior walls.
- Follow manufacturer instructions when applying primer—this step matters.
- Proper prep of all areas is our top tip for lasting, professional results.
Essential Tools and Materials for Your Painting Project
Gathering the right gear fast-tracks a neat, lasting finish. We recommend quality tools that reduce touch-ups and save time.
Start with a high-quality roller and a 2 1/2-inch brush for trim and corners. For most interior walls, a 3/8-inch sleeve offers the best coverage. Choose a 1/4-inch sleeve for glossy finishes.
Mix large batches in a 5-gallon bucket when your project uses more than one gallon. That keeps color consistent across each room and wall.
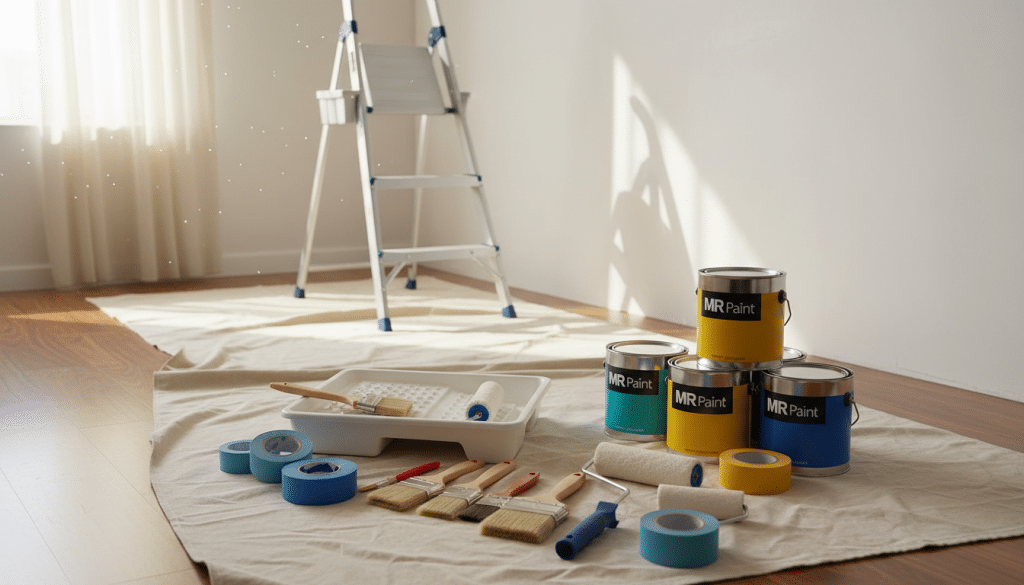
Protect floors and furniture with both canvas and plastic drop cloths. Use painter’s tape for clean lines and a sturdy ladder for ceiling work.
- Tools: roller, brush, tape, ladder.
- Products: primer, interior paint, paints for trim.
- Protection: plastic and canvas drop cloths; cover furniture.
How to Paint a Wall Like a Pro
Work in short, organized passes — that simple discipline keeps finishes uniform. First, cut in the edges around trim and corners. This gives you crisp lines and a clear boundary for the roller.
We roll the main panels in manageable sections so the paint stays wet. Maintain a wet edge and overlap each row by 3–5 inches. That overlap is a reliable way to avoid streaks and lap marks.
Use an extension pole for high and low areas. It speeds the job and keeps strokes consistent without bending or stretching.
- Follow the correct steps to learn paint wall technique for a smooth finish.
- Start by cutting in edges, then move the roller across each section.
- Choose a high-quality paint roller — it covers fast with fewer drips.
- Work small. Keeping paint wet is the best tip for a seamless room finish.
Selecting the Right Paint Sheen and Color Palette
Sheen and color decisions shape both look and long-term maintenance of interior surfaces. Choose finishes that match use and style. That gives a durable, attractive result.
Understanding Sheen Differences
Flat finishes offer a smooth, matte look. They hide small flaws and read clean in low-traffic spaces.
Semi-gloss cleans easily. It suits kitchens, bathrooms, and trim where durability matters. Use semi-gloss where scuffs and moisture are common.

- Choose the right paint sheen to define your room and protect the surface.
- One gallon covers about 400 square feet—measure wall area before you buy.
- Dark tones create intimacy; light tones make a space feel open and bright.
- We help pick paints that balance durability and the look you want.
These tips guide color and finish choices that match each room’s function. Pick a durable coat for high-use areas and softer sheens where you want warmth and depth.
Mastering the Technique of Cutting In
Cutting in sets the stage for clean lines and an even finish around trim and ceilings. Use a 2 1/2-inch angle sash brush for ceilings, corners, and molding. This brush size gives control and accurate coverage along the edge.
Cutting in means painting the edges before using a roller on the main wall surface. It keeps the roller from smudging trim and saves time during cleanup. We always cut one wall at a time so the edges stay wet when we roll the center.
Proper brush control is essential. Hold the brush at an angle. Use light, steady strokes. Keep excess paint off the trim and ceiling.
- Master the 2 1/2-inch brush: a critical step for a professional-looking paint room.
- Use painter’s tape where needed to ensure crisp edges and save time.
- Work one wall at a time so edges and roll areas blend seamlessly.
- Control the brush to prevent paint from reaching ceiling or trim.
- We take the extra time to cut in every edge for a finished, durable result.
Best Practices for Loading and Using a Paint Roller
The secret to consistent coverage starts with how you load and handle the roller. This small step affects every coat and makes the final finish look professional.
Loading the Roller
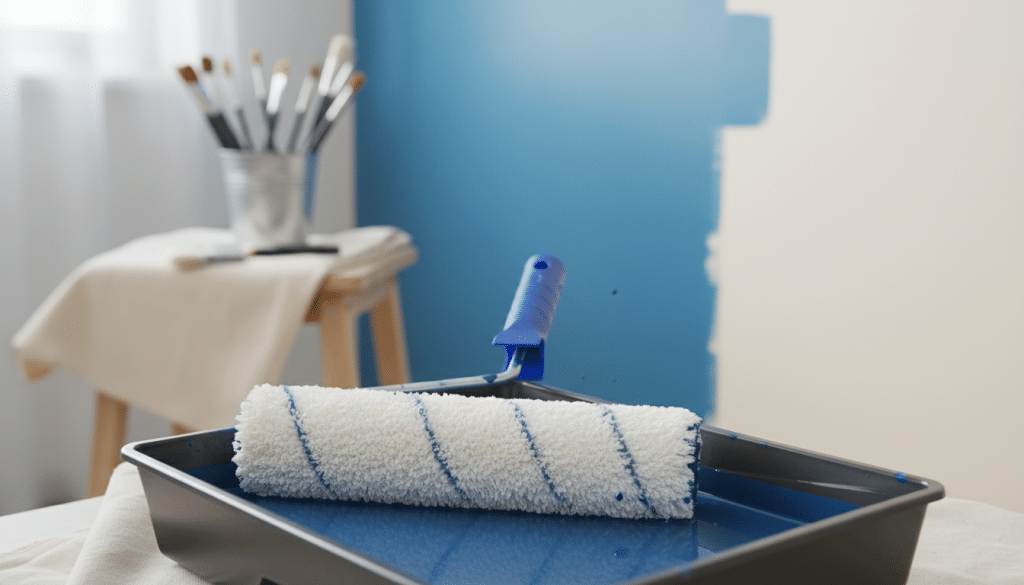
Dampen the roller cover with a wet rag before you touch paint. This helps even distribution and fewer dry spots.
Use a tray liner and touch the paint—don’t submerge the roller. Roll on the tray grid until the cover holds paint evenly.
Maintaining a Wet Edge
Work in 4-foot sections so the edge stays wet as you move across the wall. That preserves blend and avoids lap marks.
Start painting with a light zigzag, then fill in. Keep the roller loaded but not overloaded.
Avoiding Streaks
Use a light hand. Pressing hard causes drips and runs that show when dry.
Finish each section with a few even passes in one direction—this evens out texture and reduces streaks.
- Tip: Keep your plastic tray covered when not in use—saves time between coats.
- Tip: Use quality roller paint technique for uniform coverage across all walls in the room.
Achieving a Flawless Finish with Multiple Coats
Multiple thin coats deliver the depth and durability a finished room needs. We recommend at least two coats of premium paint for optimal color development and hide.
Make sure the first coat is completely dry before applying the second coat. Check the product label for recommended dry time. Waiting prevents peeling and uneven texture.
Use the same roller and consistent technique for each coat. That keeps texture uniform across the interior surfaces and the ceiling line.
- Two coats: Essential for even color and lasting coverage on all walls.
- Check dry time: We make sure the paint dry instructions are followed before a second coat.
- Quality products: Using premium primer and interior paint is a step we never skip.
- Final walkthrough: We make sure every wall in the room meets our standards before we leave.
Proper Cleanup and Tool Maintenance
Cleanup is not an afterthought — it’s part of the professional process. We finish each room with careful cleaning. That protects surfaces and keeps our tools ready for the next job.
Use a 5-in-1 tool to remove excess paint from roller covers under running water. Rinse until the water runs clear. This saves time and prolongs roller life.
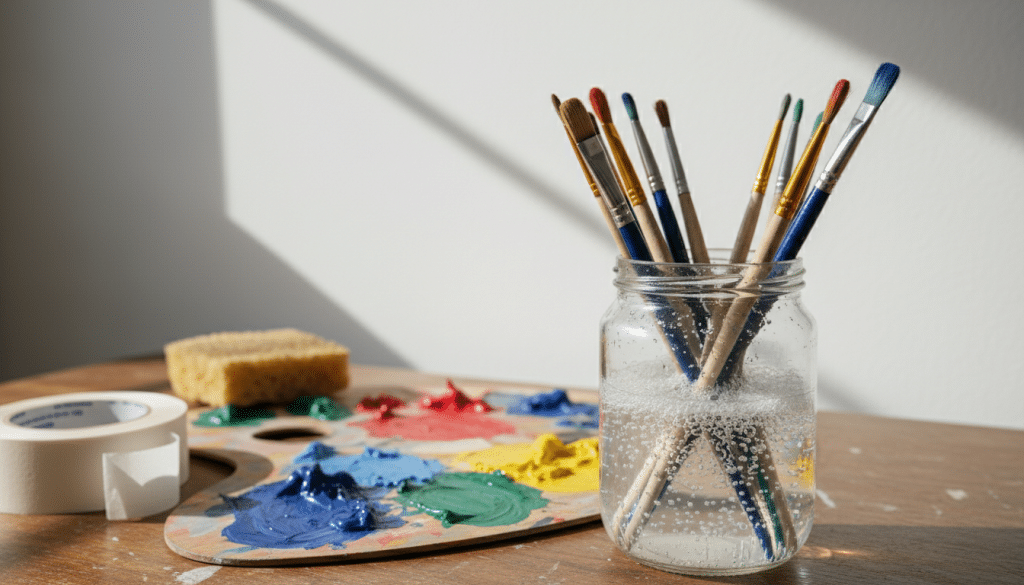
Clean brushes with warm water and mild soap. Reshape the bristles, then hang them to dry. Store cleaned brushes in a paper bag or a clean place so dust won’t settle.
- Remove tape while paint is slightly wet for the cleanest edges on walls and ceilings.
- Wash plastic drop cloths or fold and store them; we clean surfaces and furniture before we leave.
- Store leftover paints in a cool, dry place or follow local hazardous waste rules for disposal.
These small steps cut future work time and keep brushes, rollers, and other tools in premium condition. A little care goes a long way.
Professional Painting Services by MR Paint
Our team treats each home like it belongs to family—careful, clean, and on time. We combine careful prep, premium materials, and skilled craftsmanship on every interior project.
We communicate clearly and keep a reliable schedule. Each job includes a final walkthrough so you leave satisfied with the finish and coverage.
Our Craftsmanship and Process
We focus on detail-driven work and clean practices. That means protecting furniture and space, using quality primers and paint, and finishing with crisp lines and consistent texture.
We make sure every surface meets our standards before we call the job done. Guaranteed results—no surprises.
Serving Central New Jersey
Based in South Amboy, NJ, we serve clients within a 35-mile driving radius. Since 2011, homeowners and businesses choose MR Paint for dependable service and lasting results.
- MR Paint provides professional painting services for your home or business within 35 miles of South Amboy, NJ.
- We pride ourselves on craftsmanship and clean work—every project meets our high standards.
- Reach us at (908) 963-7371 or info@mrpaintnj.com to discuss your next interior project.
- We protect furniture and space throughout the process and deliver guaranteed results you can trust.
Conclusion
A well-executed finish is within reach when preparation and technique lead the way.
Painting your walls like a pro is an achievable goal when you follow the right steps and use quality materials. Focus on prep, choose the correct roller, and keep each pass steady for even coverage.
We stand ready to help—reliable service, expert craftsmanship, and guaranteed results for every room. Use this guide as your checklist or call MR Paint when you prefer professional support.
Contact us for guaranteed results and expert care on every wall.