MR Paint’s Guide to How to Paint a Door

Curious why a fresh coat can lift an entire room—and why many attempts fall short? or How to Paint a Door?

Since 2011 we have served Central New Jersey from South Amboy. We focus on careful prep, premium materials, and clean work. Our goal: a modern, durable finish that holds up under daily use.

We treat every project with respect—from single updates to whole-home jobs. Our team works within a 35-mile driving radius and brings clear schedules and easy communication.

This post walks through each step, drawn from years of field experience. Expect practical tips that save time and deliver a pro-level finish. Whether you call us for a painter or follow the guide yourself, the results aim to be flawless.

Key Takeaways

  • MR Paint has delivered quality work across Central New Jersey since 2011.
  • We prioritize prep, premium materials, and detail-driven craftsmanship.
  • Clear scheduling and respectful work protect your home and time.
  • This guide breaks the process into simple, reliable steps.
  • Our team is ready for single doors or whole-home projects within 35 miles.

Essential Tools and Materials for Your Project

Start with the right gear and the job becomes simple, safe, and long-lasting. We gather supplies that speed work and protect surfaces. This step saves time and prevents costly touch-ups.
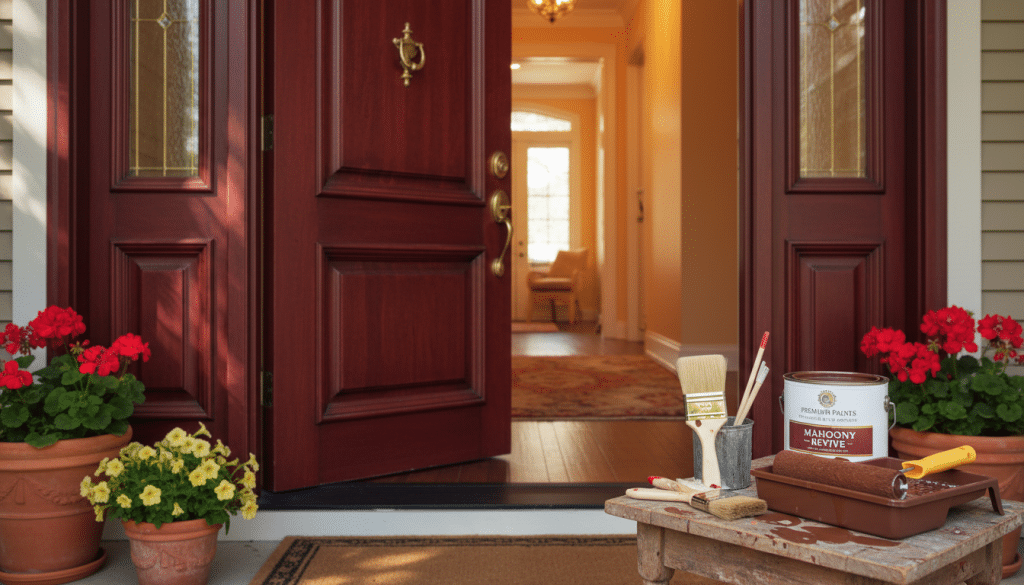
A beautifully crafted front door, showcasing a rich mahogany finish, detailed with elegant brass hardware and a large, vintage-style doorknob. The door is slightly ajar, revealing a glimpse of a well-lit interior with warm, inviting colors. In the foreground, a small wooden table is adorned with essential painting tools: brushes, a paint roller, and a can of premium paint, all set against a backdrop of a softly lit porch adorned with potted flowers. The lighting is warm and natural, with soft shadows creating depth, while the angle is slightly low to emphasize the door’s grandeur. Overall, the atmosphere is inviting and inspiring, perfect for a DIY project.

Selecting the Right Paint

Choose a durable semi-gloss or satin finish for daily wear and weather resistance. For a front door, pick fade-resistant formulations made for exterior exposure. Good paint means fewer coats and longer-lasting color.

Necessary Supplies

  • 150 and 220 grit sandpaper for proper sanding and smoothness.
  • 2″ angled brush for cutting in around hinges and hardware.
  • 4″ woven roller for even coverage on flat panels and rails.
  • High-quality painter tape, drop cloth, and a clean cloth for dust removal.
  • Wood filler for nicks, plus a small tray and stir sticks.

Why this matters: the right brush and roller give a smooth finish. Proper tape protects hardware and hinges. Sanding with two grits readies wood for topcoats and helps the final coat level out.

How to Paint a Door Like a Professional

Professional results come from method, not magic—order, patience, and the right tools. We recommend Modern Masters Front Door Paint; it comes in 25 colors and dries fast for a clean final finish.

Plan for roughly 4–6 hours total. That includes sanding, two thin coats, and wait time for the paint dry between coats. Check humidity before you begin; weather affects drying time.

  1. Remove hardware or cover it with tape—make sure hinges and locks stay clean.
  2. Work top down: start at the top edge, then panels, rails, and finally the outer edges to control drips.
  3. Use a high-quality brush for corners and a roller for flat areas for smooth coverage.
  4. Sanding between coats is vital—light sanding helps the next coat level and extends the finish life.

Final step: Inspect for drips and light imperfections after the top coat dries. A quick touch and small sanding post-dry will leave a durable, pro-grade finish that welcomes daily use.

Preparing Your Surfaces for a Flawless Finish

Begin with a simple test and you’ll know what products will bond. We check the finish type first. This step avoids wasted time and failed coats.

Testing for existing paint types

Use a dark cloth dampened with rubbing alcohol and rub a small area. If pigment transfers, the surface is latex. If not, it’s likely oil-based paint and needs primer.
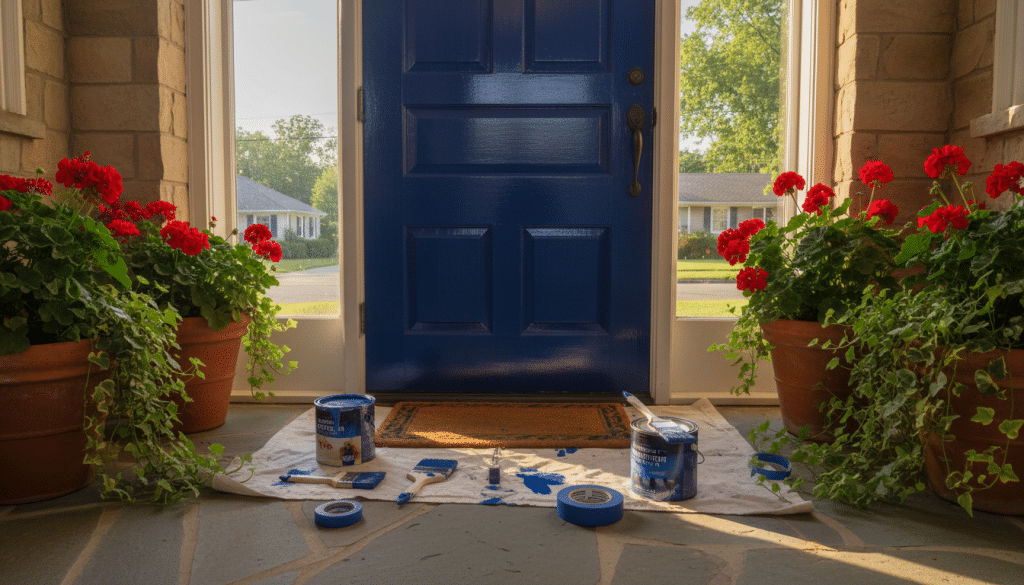
A beautifully detailed front door is the focal point of the image, standing prominently in a well-lit setting. The door is crafted from rich mahogany, showcasing a smooth finish and elegant paneling, with a vibrant coat of newly applied paint glinting under soft, natural daylight. In the foreground, a series of painting tools are artfully arranged on the ground, including brushes, paint cans, and masking tape, subtly suggesting the preparation process. The door frame is complemented by a clean, inviting porch adorned with potted flowers, creating an inviting ambiance. In the background, a peaceful neighborhood scene unfolds, with gentle greenery and a clear blue sky, enhancing the tranquil atmosphere. The shot is taken with a slight upward angle to emphasize the door’s stature, while warm lighting adds a welcoming touch without any text or distractions.

  1. Wear a respirator and safety glasses when sanding old wood and painted surfaces.
  2. Lightly sand to remove imperfections and create a profile for the new finish.
  3. Clean with a damp cloth; repair any wood damage with filler before sanding again.
  • Use a drop cloth to protect floors.
  • Mask hardware and hinges with painter tape for clean edges.
  • We often choose Benjamin Moore Advance — it covers both latex and oil-based surfaces and reduces brush marks.

Result: Proper prep saves hours and gives a smooth painted door with durable coverage and a pro-level finish.

Determining the Best Painting Order for Paneled Doors

A disciplined sequence — edges, panels, verticals, rails — is the secret to pro results. Follow this order and you reduce drips, visible brush marks, and uneven texture.
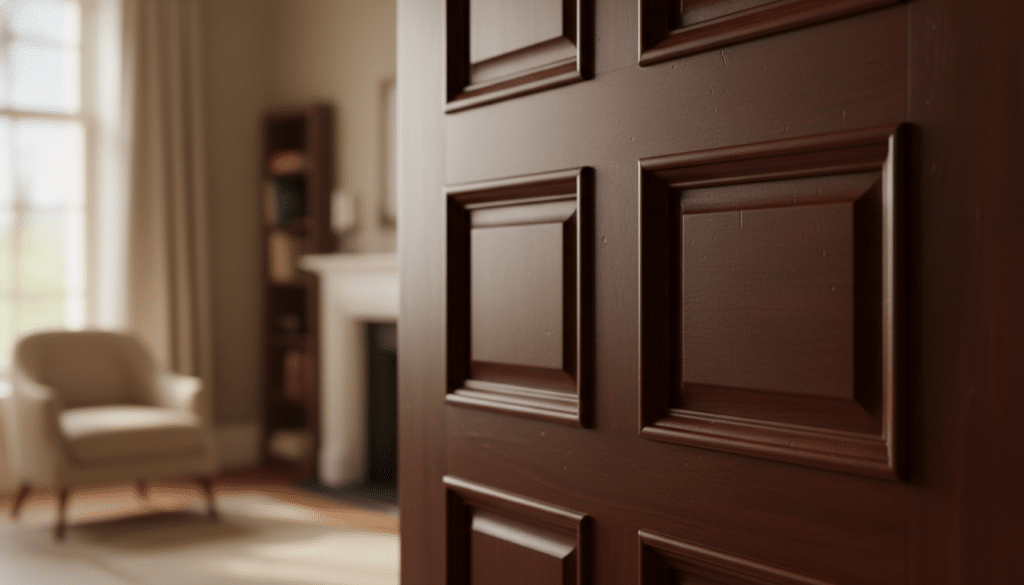
A beautifully crafted paneled door, featuring intricate raised panels and a smooth, glossy finish that reflects soft light. The foreground showcases the door in detail, capturing the texture of the wood and the imperfections that make it unique. The middle section reveals a subtle shadowing effect, highlighting the depth of the panels and the craftsmanship involved. In the background, a softly blurred room setting gives context without overpowering the main subject, filled with warm, natural lighting streaming through a nearby window. The atmosphere is inviting and tranquil, perfect for illustrating the nuances of painting technique. The composition is shot from a slight angle to create depth, emphasizing the door's elegant design while maintaining a professional and polished appearance.

Painting the Edges and Panels

Begin with the edges. They dry while you work across the face of the door. This prevents wet edges from sagging when you flip the door.

For recessed panels use a brush for crisp lines. Use a roller on flat panel areas for a smooth, even coat.

Handling Horizontal Rails

Next, move to the horizontal rails. Paint these after the center vertical strips so seams level out. Watch for drips at rail joins and remove any blobs quickly.

Finishing with Vertical Strips

Finish with the outer vertical strips. This final pass ties the whole finish together and hides minor laps from earlier steps.

  1. Order: edges, panels, vertical strips, horizontal rails, final vertical strips.
  2. Lightly sand between coats with 320 grit to remove dust and help adhesion.
  3. If using sawhorses, allow at least 24 hours for paint to dry before flipping.
  • Use painter tape around hardware and hinges; avoid painting weatherstripping at the bottom.
  • Combine brush and roller—brush for detail, roller for speed and texture control.
  • Make sure surfaces are clean with a damp cloth; dust ruins a painted door’s finish.

Result: Follow this process and your painted door will look professional and stand up to daily use.

Professional Painting Services from MR Paint

Count on MR Paint for a neat process and a finish you can trust. We deliver clean, professional painting across Central New Jersey from our South Amboy base.

What we handle:

  • Full prep and sanding; premium primers and top coats for a durable finish.
  • Careful protection of hardware and trim with quality tape and masking.
  • Brush and roller techniques that reduce drips and create even coverage.
  • Clear communication, reliable scheduling, and a final walkthrough at job completion.

We service homes and businesses within a 35-mile radius. Whether you need a fresh coat on your front door or updates for interior doors, we manage every step with care.

Contact us: Call (908) 963-7371 or email info@mrpaintnj.com to schedule a consultation. Our team works efficiently—usually within manageable hours—and leaves your space clean and ready.

A beautifully painted front door, showcasing a modern yet inviting design, stands proudly in a well-lit entryway. In the foreground, delicate floral arrangements frame the door, adding a touch of color. The middle layer features the door itself, with a glossy finish in a rich navy blue, highlighting its freshly painted surface and beautiful brass handle. Sunlight casts soft shadows, revealing the texture of the door and the surrounding trim, which is painted in crisp white. In the background, a tidy porch with potted plants and a welcome mat enhances the welcoming ambiance. The scene captures a serene morning light, evoking a sense of professionalism and care in home improvement.

Conclusion

Conclusion

A careful sequence and patient work deliver lasting results. Follow the right order and prep steps and the finish will hold up under use.

Use premium materials, the correct roller and brush, and allow each coat paint time to paint dry. Make sure hardware is masked or removed for clean edges.

Whether you tackle this project yourself or call MR Paint, focus on patience and detail. Our team stands ready to help New Jersey homeowners get professional, durable doors that look great for years.
FAQ

What is MR Paint’s guide to painting doors perfectly?

MR Paint recommends careful prep, premium materials, and steady technique. We remove or mask hardware, sand and clean surfaces, prime if needed, and apply thin, even coats—brushing edges first, rolling flat panels, and allowing proper dry time between coats for a durable, clean finish.

What essential tools and materials do we use for this project?

We bring quality brushes, a small foam or mini-roller, 120–220 grit sandpaper, tack cloths, painter’s tape, a drop cloth, and a durable primer and topcoat. For front doors we prefer entry-grade exterior finishes that resist weather and wear.

How do we select the right paint for door surfaces?

Choose a paint based on door material and exposure. For exterior front doors, use an exterior acrylic or oil-modified enamel for toughness. Interior doors do well with a semi-gloss or satin for cleanability. We recommend premium brands and test a sample on an inconspicuous area first.

What necessary supplies should homeowners have on hand?

Keep these ready: screwdrivers for removing hardware, a tarp or drop cloth, quality brush and roller, primer, topcoat, sandpaper, painter’s tape, and lint-free cloths. We also advise rubber gloves and a small container for paint mixing.

How should surfaces be prepared for a flawless finish?

Start by removing dirt, grease, and loose paint. Sand glossy finishes to dull them, fill gaps or cracks with wood filler, and wipe with a tack cloth. Prime any bare wood or repaired areas. Clean, dry surfaces ensure adhesion and a smooth final coat.

How do we test for existing paint types before starting?

Use a small solvent test: rub a damp rag with denatured alcohol or mineral spirits on a hidden spot. If it softens, the finish is likely oil-based or lacquer; water-based paint won’t dissolve. Knowing the existing type guides primer choice and sanding needs.

What is the best painting order for paneled doors?

Work from narrow details to broad surfaces. Start with edges and recessed panels, then horizontal rails, and finish with vertical stiles and flat panels. This order prevents lap marks and delivers a consistent texture across the door.

How do we handle painting the edges and panels?

Paint edges first using a small brush for control, then tackle recessed panels with a flat brush or mini-roller. Keep strokes consistent and remove drips promptly. Thin, even coats prevent runs and ensure crisp lines along the panels.

What technique do we use for horizontal rails?

Paint rails with long, even strokes following the grain. Use a brush for control and a light roll for flat sections. Avoid overloading the brush; multiple thin coats beat one heavy coat for a durable, drip-free finish.

How should vertical strips be finished for a professional look?

Finish with vertical strokes from top to bottom to blend with earlier work. Maintain a wet edge to prevent lap marks. Inspect edges and touch up any drip spots before the paint fully cures.

When is it best to remove or keep hardware and hinges?

We prefer removing handles, plates, and strike plates for cleaner coverage. If hinges stay in place, open the door and tape around them carefully. Removing hardware reduces masking and yields a neater result.

How much drying time and how many coats are typical?

Dry times vary by product—waterborne paints may be touch-dry in an hour, oil-modified finishes take longer. Plan for two thin topcoats as standard. Allow recommended cure time between coats—usually 2–4 hours for waterborne, longer for oil-based.

How do we prevent drips and dust on the painted surface?

Use thin coats, inspect edges as you work, and sand lightly between coats if needed. Work in a clean, low-wind area and remove or cover nearby dust sources. A tack cloth before final coat removes remaining particles.

Can exterior front doors be finished with water-based paint?

Yes—high-quality exterior acrylics perform well, offering color retention and weather resistance. For heavy wear or older oil-based finishes, an adhesive-promoting primer may be necessary for best adhesion and longevity.

When should we sand between coats and what grit is best?

Light sanding between coats with 220–320 grit smooths imperfections and improves adhesion. Sand gently—just enough to dull the sheen—then wipe with a tack cloth before the next coat.

What safety and cleanup practices do we follow?

Ventilate the area, use gloves and eye protection as needed, and store paint cans upright and sealed. Clean brushes with water for latex paints and mineral spirits for oil-based products. Dispose of waste per local regulations.

Does MR Paint offer professional painting services in South Amboy, NJ?

Yes. We provide door refinishing, full exterior and interior door projects, and hardware protection. Our team uses premium materials and careful prep—guaranteed workmanship for homeowners and businesses in South Amboy and surrounding areas.
cabinet painting

Mon – Fri: 8:30 am to 6 pm

Share:

Send Us a Message

On This Page

Our Residential Services

Residential interior painting

Interior painting

Refresh any room with clean lines, smooth finishes, and careful protection of your home from start to final walkthrough.

House Painting - Residential Exterior Painting

exterior painting

Boost curb appeal and protect your home with durable exterior coatings, thorough prep work, and a clean, professional finish.

Residential Deck Staining

Deck Staining

Restore and protect your deck with high-quality paints or stains that enhance the look while standing up to local weather.

Residential Cabinet Painting

Cabinet Painting

Transform kitchens and bathrooms with factory-smooth cabinet finishes using proper sanding, priming, and long-lasting coatings.

Residential Drywall Repair

Drywall Repair

Fix holes, cracks, and damaged areas with seamless patching and finishing—moisture resistant, ready for paint so walls look like new.

Our Commercial Services

Commercial Interior Painting

Commercial Interior Painting

Keep your business looking sharp with fast and professional interior painting designed for clean results and lasting durability.

Commercial Exterior Painting - Commercial Painting

Commercial Exterior Painting

Make a strong first impression with exterior painting that improves appearance, protects surfaces, and holds up to heavy exposure.

Commercial Wallpaper Removal

Wallpaper Removal

Remove outdated wallpaper safely and cleanly, then prep walls properly so the surface is smooth, uniform, and paint-ready.

Commercial Concrete Staining & Epoxy Finish

Concrete Staining & Epoxy Finish

Upgrade concrete floors with decorative staining or epoxy finishes that add durability, easy maintenance, and a clean, polished look.

Powerwashing

Power
Washing

Powerwashing removes dirt and grime from exterior surfaces, restoring curb appeal and prepping areas for longer-lasting paint.

Brands We Use

We work with premium, trusted paint brands for durable finishes.