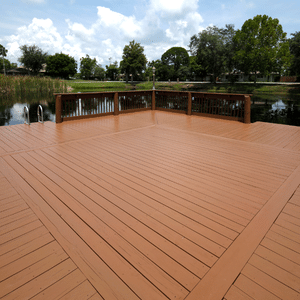
Curious on how to stain a deck? or why some finishes fail within a season while others last for years?
We believe great results start long before the brush hits wood. Staining is a protection-first process—prep, weather, and correct application let the product penetrate and perform. Our approach focuses on careful prep, premium materials, and clean work from start to finish.
MR Paint—Craftsmanship. Clean Work. Guaranteed Results. Based in South Amboy, NJ, we serve locations within a 35-mile radius with clear communication, reliable scheduling, and a final walkthrough.
In this short guide we’ll walk homeowners through a professional workflow: inspect, clean, prep, choose the right deck stain, apply, and protect the finished surface. We call out common causes of failure—peeling, lap marks, sticky spots, blotchy color—and show how we avoid them.
If you’d rather skip the risk, call (908) 963-7371 or email info@mrpaintnj.com for scheduling. By the end, you’ll have a simple plan for your next project—quick refresh or full restoration.
Key Takeaways
- Proper prep and timing matter more than fancy products.
- We follow a step-by-step workflow for even, durable results.
- Clean work and premium materials reduce common failures.
- We serve South Amboy, NJ and nearby areas within 35 miles.
- Call (908) 963-7371 or email info@mrpaintnj.com for help.
Why Staining a Wood Deck Matters for Protection and Curb Appeal
A well-finished wood deck keeps your home protected and looking sharp for years. We focus on long-lasting results through careful prep and premium products.
Protection is the priority. Quality stain limits water absorption and slows checking cracks. That keeps small splits from growing as moisture cycles through the boards.
Penetrating stains vs. film-forming finishes
Penetrating stains soak into pores. They move with the wood and rarely peel. Film-forming finishes sit on top and can trap moisture.
If the film starts peeling you may need heavy scraping or stripping later. We guide homeowners toward penetrating options for cleaner upkeep and easier recoats.
- We choose products matched to traffic, sun exposure, and current surface condition.
- Stain slows UV fading and keeps the deck looking even longer.
- Right selection now makes the next maintenance cycle simpler and cleaner.
MR Paint delivers neat, dependable work—clean job sites, honest advice, and guaranteed finishes for South Amboy and nearby homeowners.
When to Stain a Deck for Best Results
Timing is the silent factor that separates short-lived finishes from durable ones. We pick the window first, then plan crew and materials. That mindset keeps projects clean and predictable.
Best weather window
Aim for overcast skies, low wind, and moderate temps—about 60°–75°F. Avoid hot, windy days and direct sunlight. Shade helps hold a wet edge and reduces lap marks.
Dry time after cleaning
After washing, let wood dry at least 48 hours. In dense shade or cold weather, expect 2–3 days before we apply stain. Moisture is the enemy of adhesion.
Rain timing and buffers
Don’t start if rain is likely within 12–24 hours. We prefer a safer buffer—often 36 hours—especially with water-based products that can wash off or dry blotchy.
- Plan the start day and build in buffer time.
- Pick calm, overcast weather so the product soaks, not flashes.
- Least hours matter—rushing causes wash-off and uneven color.
Tools, Materials, and Safety Gear You’ll Need
Good tools and clear setup cut mistakes and speed the job. We bring a tidy staging area and premium gear so work stays clean and predictable.
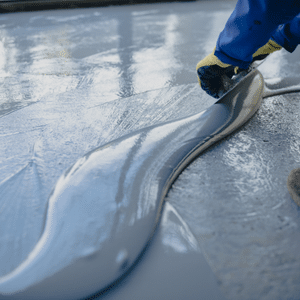
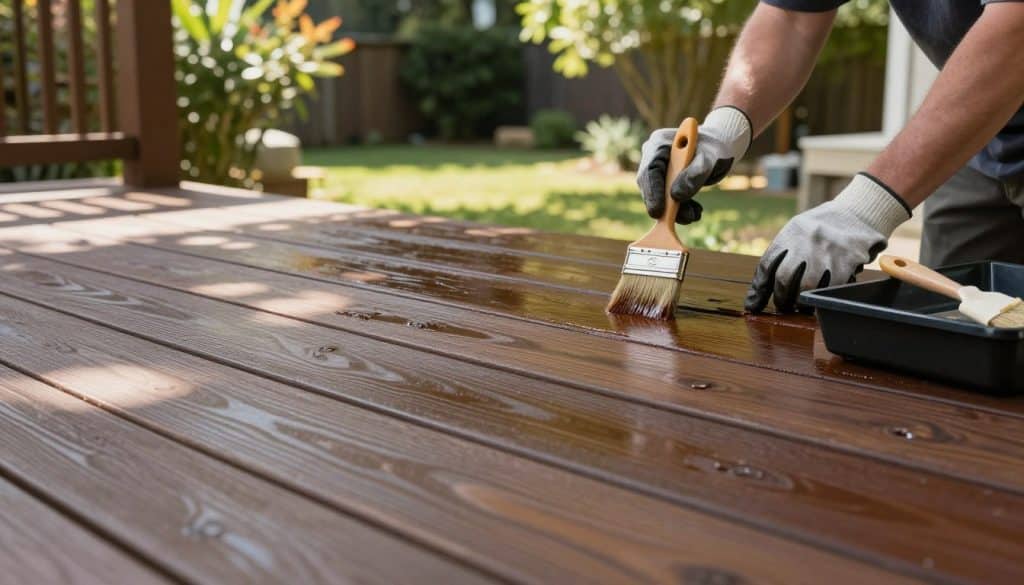
Application tools: A quality natural-bristle brush is our go-to for rails and tight spots. Use a proper roller cover for open boards, and a sprayer when masking and ventilation make sense. Always back-brush after a roller or sprayer pass to force stain into the wood and even the finish.
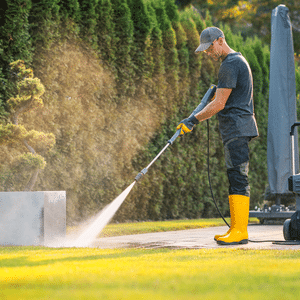
- Cleaning kit: buckets, pump sprayer for cleaner, stiff scrub brushes, and a hose. A washer can help on stubborn grime—but misuse of a pressure washer or high-power washer will raise fuzz and erode soft grain.
- What to avoid: Skip chlorine bleach (sodium hypochlorite). It strips color, weakens fibers, corrodes fasteners, and harms plants and the surrounding house siding.
- Protection and safety: Drop cloths, painter’s tape, shields for nearby landscaping, gloves, eye protection, and sturdy footwear keep the area safe and tidy.
MR Paint standards: We protect the house, cover plants, and leave a neat site. That attention keeps the surface ready for stain and keeps your property damage-free.
Prep Work That Makes or Breaks the Finish
The quality of prep work predicts long-term performance more than the brand name on the can. We treat prep as the main event—no shortcuts, clean site, and detailed checks before any product touches the wood.
Quick condition check
Start with a fast inspection for gray weathering, peeling finish, splinters, and soft spots. Use the water-bead test: if water beads, the board is too wet or has mill glaze and is not ready.
Cleaning: scrub brush vs. pressure washer risks
Apply cleaner, let it dwell, then scrub and rinse. Scrub-brush cleaning removes grime with less risk.
High-pressure washing can erode springwood and leave fuzz. If we use a washer, we use low pressure and careful technique to avoid damage.
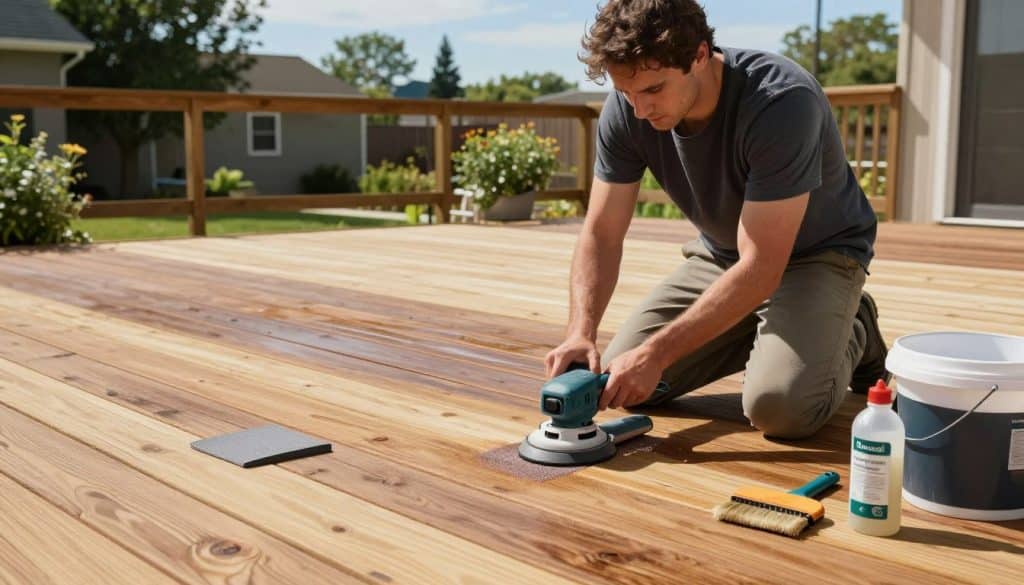
Prepping new, treated, or weathered wood
New and pressure-treated wood often has mill glaze. We break that film, let the surface dry at least 48 hours, then sand lightly with 80-grit for better adhesion.
Weathered gray boards get deep cleaning and brightening to remove dead fibers and restore an even surface for stain application.
Fixing flaking or peeling
Remove loose material, strip where needed, rinse and brighten, then sand smooth. This step prevents trapping old failure under new stain.
- Final readiness checklist: dry, clean, dust-free, and uniform.
- Key step: confirm with the water test and touch inspections before moving on.
- MR Paint promise: meticulous prep, tidy site, durable results.
Choosing Deck Stain Color, Opacity, and Product Type
The finish you pick controls grain visibility, wear tolerance, and how often you’ll touch up.
Opacity options and what they do
Transparent keeps natural wood grain front and center. It shows the most texture but needs more frequent refreshes.
Semi-transparent tints the wood while keeping grain visible. It balances look and longevity.
Semi-solid offers more uniform color and hides minor flaws. It lasts longer in high-traffic areas.
Solid reads like paint—excellent for concealment and long cycles between recoats.
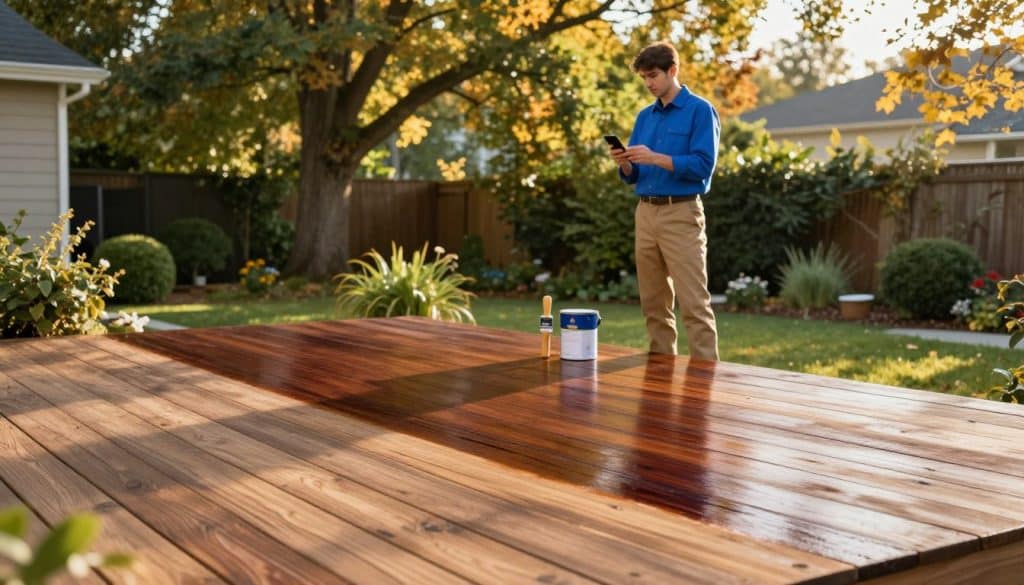
Test, then commit
Always sample on spare boards or an inconspicuous area. Judge the color after it dries. One coat can read very different by wood species and condition.
- Match opacity to your tolerance for wear and how visible grain should be.
- Consider sun and traffic: bright, sunny decks benefit from deeper-opacity stains.
- Batch consistency: for large areas, “box” gallons—mix containers together before applying stain across sections.
Pick color that complements your home. That way your deck looks modern and performs longer with less fuss.
How to Stain a Deck Without Lap Marks or Sticky Spots
Start with a solid plan so every pass looks intentional and no wet edges meet dry ones.
First step: finish railings and handrails before the floor. Use drop cloths to catch drips and keep boards clean.
Work in controlled passes
Follow the grain and stain a few full boards end-to-end. Stain across entire boards so color blends naturally.
Keep a wet edge
Maintain a wet edge — brush wet into wet. This rule prevents lap marks, especially in direct sunlight or on warm days.
Tools and technique
Brush gives control; roller and pad speed up flats; sprayer covers large areas. Always back-brush after rolling or spraying to force the product into pores and smooth the coat.
- Avoid puddles: more product won’t equal better protection—puddles create glossy, sticky spots.
- Coat guidance: many penetrating products need only one coat; solids may call for two. Follow label recoat timing and test an inconspicuous area first.
- Pro finish tips: cut in edges, keep consistent overlap, and inspect as you go so problems are caught before the end.
For step-by-step product notes and recommended techniques, see our guide on staining exterior decks.
Drying, Curing, and Knowing When the Deck Is Ready for Use
Real readiness is more than surface-dry; it’s a practical checklist and a quiet walk-through. We separate dry, cured, and ready for traffic so you don’t rush furniture back and scar the finish.
What affects drying time
Temperature, wind, sun versus shade, and wood moisture change how long a coat needs. Warm, breezy days speed evaporation; cold or shaded spots slow curing. Check the weather and plan at least a buffer of extra hours.
Rainproof timing and simple checks
Fresh water can spot or wash a coat. If storms threaten, delay start or add added protection — it’s the safest choice. Follow product labels for recoat windows.
- Plan for measured time: many jobs need 24–48 hours before light use.
- Use short tests: light finger drag for transfer; a careful shoe test in a hidden area.
- Keep rugs, grills, and heavy furniture off for the first full day or longer if humidity is high.
Our final walkthrough confirms a true finished surface. That way your stained deck project looks even and feels dry — not tacky — when we sign off.
Conclusion
Prep, product choice, and steady application form the backbone of any reliable finish.
Keep the plan simple: clean thoroughly, pick the right deck stain for your wood and sun exposure, then work in controlled passes with a quality brush and steady rhythm.
We protect the house and landscaping, control drips, and leave the site tidy. That clean-work approach cuts callbacks and extends the life of the paint and finish.
If you want a weekend DIY, follow the steps here. If you want guaranteed results, hire us.
MR Paint — Craftsmanship. Clean Work. Guaranteed Results. Based in South Amboy, NJ, serving within a 35-mile radius. Established 2011. Call (908) 963-7371 or email info@mrpaintnj.com for a consult and final walkthrough.